We need
RaspberryPi 4 (4 GB Ram)
SSD 500Gb external USB drive with min USB
3.0
MyBook WD 1TB disk space External Drive
Install NextCloudPI
Download NextCloudPI:
or
Direct link for RaspberriPI4:
Extracts zip file
Download BalenaEtcher from:
Direct link:
https://etcher.balena.io/#download-etcher
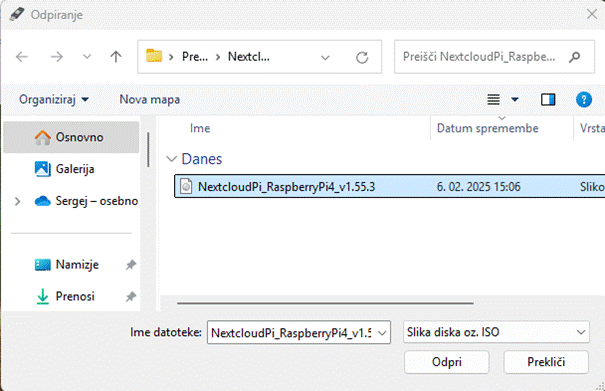
Select file
NextcloudPi_RaspberryPi4_v1.55.3.img or newer. Confirm Open. Then click Start
or Run.
Select external disk SSD.
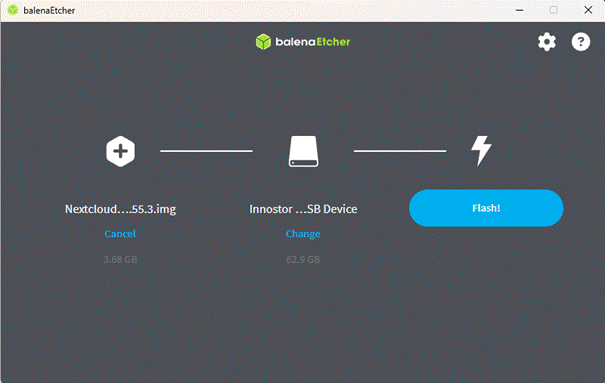
And click Flash.
Alternative Download Rufus Portable:
https://rufus.ie/downloads/
or
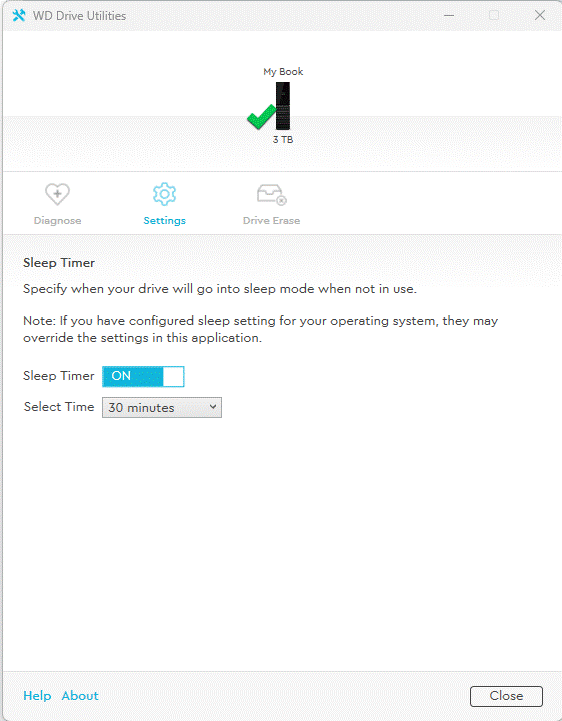
We will also need WD MyBook Externa Usb
drive with separated power supply for backup and big storage. Configure WD
MyBook Externa Usb drive sleep time to 30min. WD elements it is not good; it
has no sleep setting and it will never go to sleep (Hight power consumption and
short lifespan). You need to run WD Drive Utilities and go to settings. Set On
button and set 30 minutes delay to sleep. So, the drive won’t run all the time.
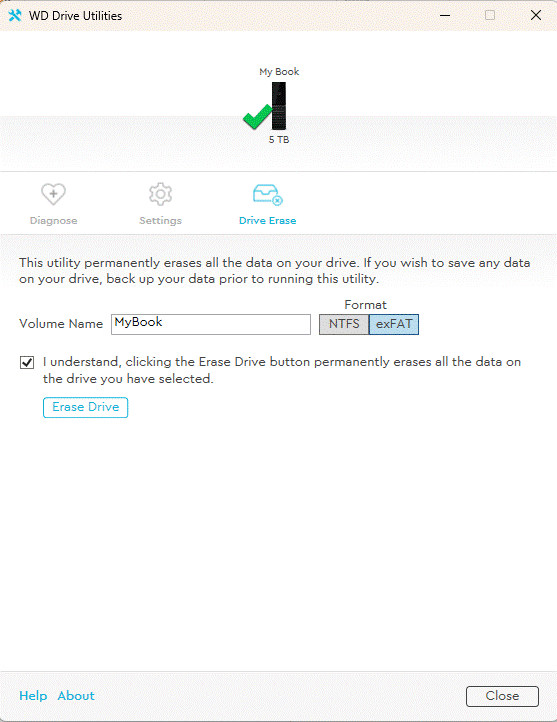
Rename disk label from »My Book« to
»MyBook« without space. On disk you wil need format partition to set exFat file
system (NTFS filesystem is not fully supported on pi image and Linux). Be
careful, backup yopur data on disk. All data will be losed on disk if formatted:
Connect SSD externa drive to RaspberryPI
via USB 3.1 (Blue color connector). This drive we will use for main and fast
storage. Connect My Book to second blue USB 3.1 connector.
Connect network cable Rj45 from router to
RasberriPi.
Now connect power cable to RaspberryPI and
wait more minutes. Open favorite browser in computer and go to page:
If you see on browser this:
Forbidden
You don’t have permission to access this
resource.
you have to wait more time you have
probably problem with IPv6 enabled on router. I suggest you to disable it.
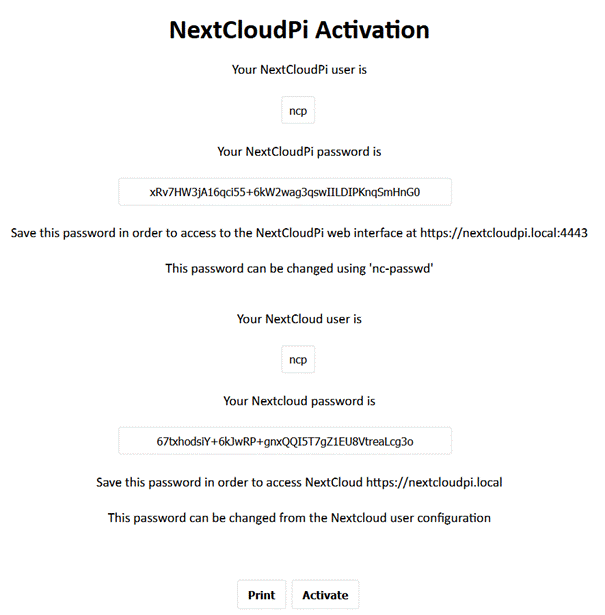
Click Print and Activate button and wait.
Now you can login to panel with password
you have saved or printed on paper of pdf.
Go to Configure Panel:
https://nextcloudpi:4443/
on your favorite browser.
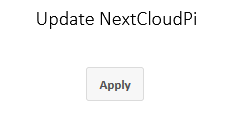
Go to Updates -> nc-updates click Apply and
wait few minutes

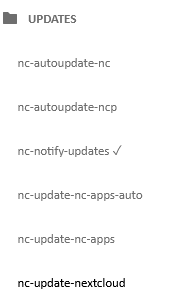
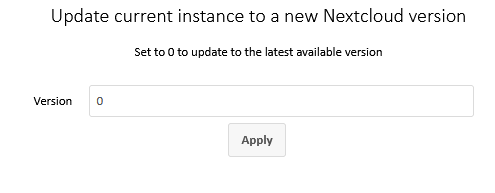
Go to Updates -> nc-updates-nextcloud
click Apply and wait few minutes
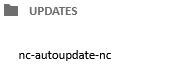
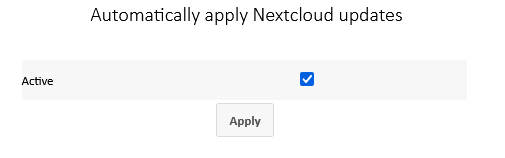
Go to Updates -> nc-autoupdate-nc check
Active and click Apply
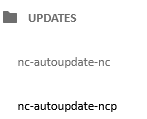
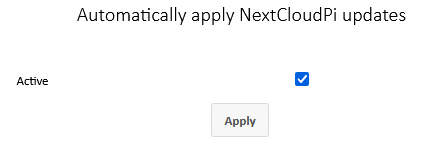
Go to Updates -> nc-autoupdate-ncp check
Active and click Apply
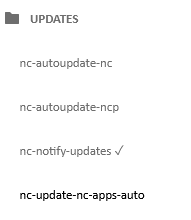
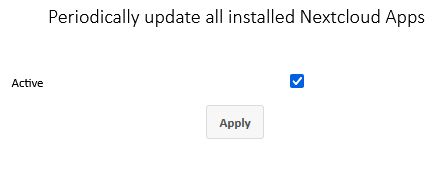
Go to Updates -> nc-update-nc-apps-auto
check Active and click Apply
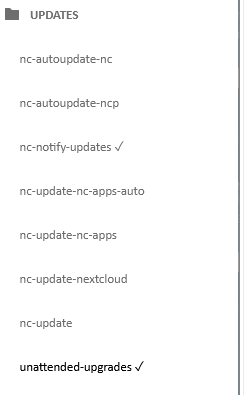
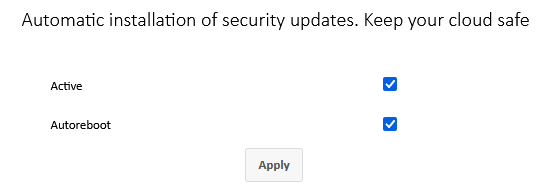
Go to Updates -> unattended-upgrades
check Active, Autoreboot and click Apply
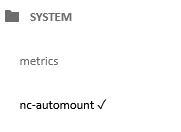
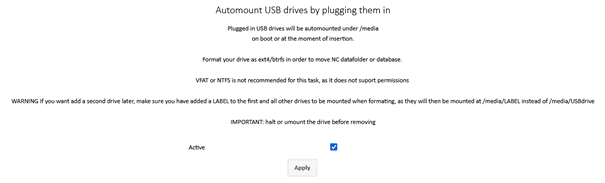
Go to System -> nc-automount check
Active and click Apply
Securing Next Cloud
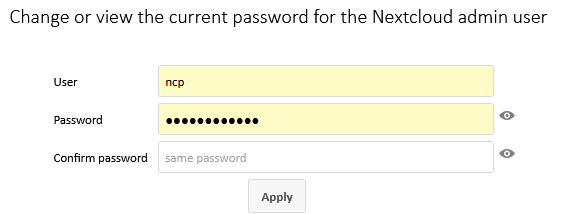
Go to Config -> nc-admin: Set password
for Next Cloud admin user:
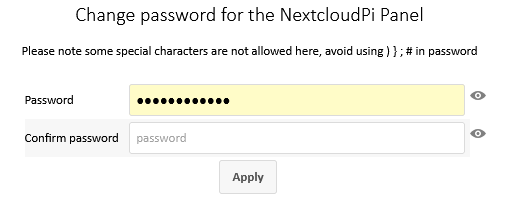
Go to Config -> nc-password: Set
password for this panel:
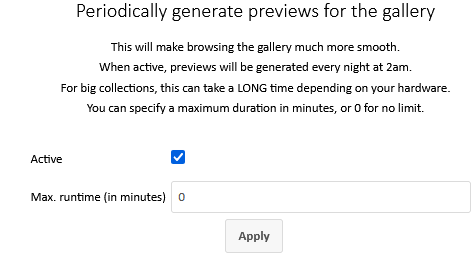
Generating thumbnail or image previews
Go to Config -> nc-previews-auto
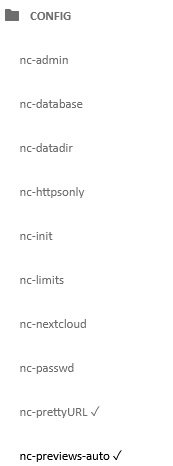
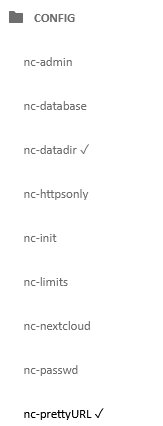
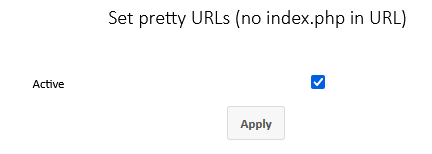
Go to Config -> nc-prettyURL
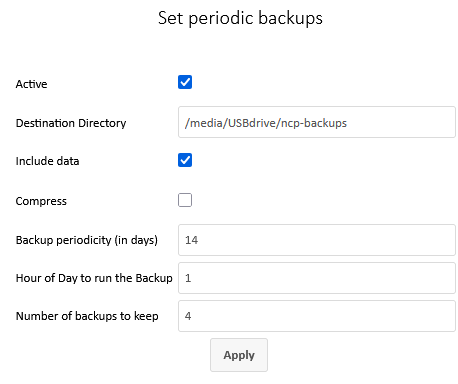
Do periodic backups to MyBook Wd:
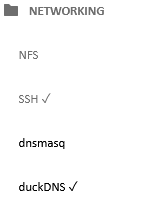
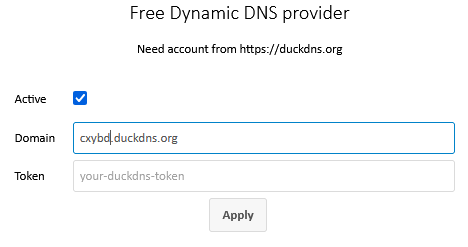
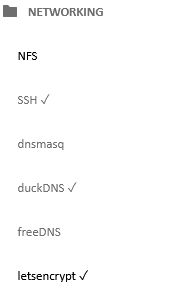
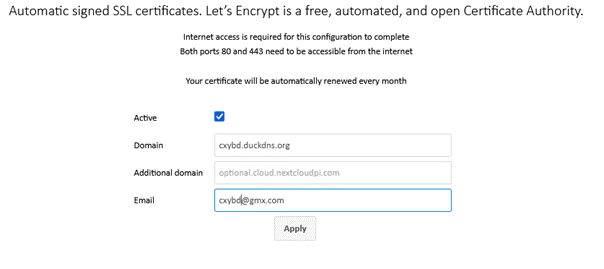
Expose to internet.
This do on your own risk:
Expert Optional:

Configure NextCloud
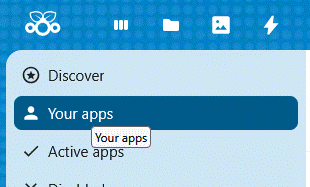
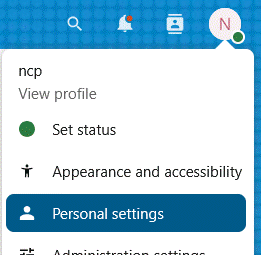
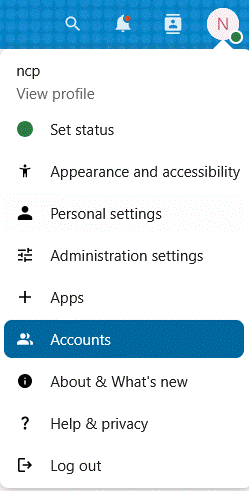
Right click on most top right icon circle
and click Apps

Click Your Apps:
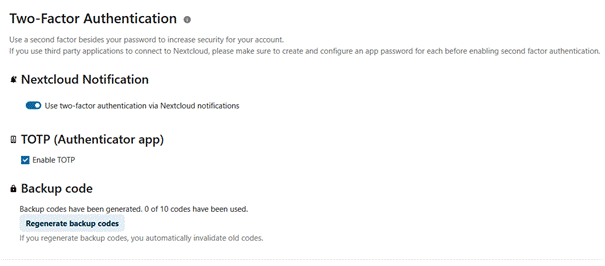
Install and enable two factor Authorization
plugins:
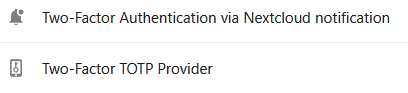
Enable Two factor Authenticator via Android
phone Google App Authenticator
On Next Cloud page Enable TOTP. Scan QR
code with phone Google Authenticator. An Enter code displayed on phone to the
browser to confirm.
Add users via NextCloud:
Click to add new account:

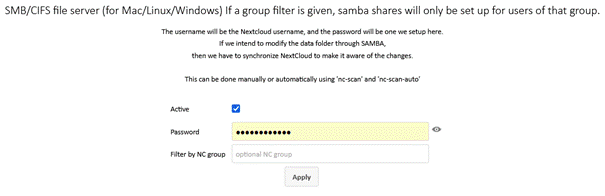
Now we need to go back to
Finally, after we create users on NextCloud
we can can create samba users (always we have do this task after user creation):

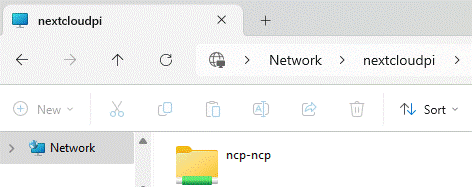
Now we can copy external files to samba
users via Windows Explorer:
Next step if we copy external files
(photos) to our Next cloud directory via samba we need fix permissions (always
we copy files to samba we need do this task).


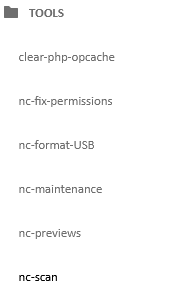
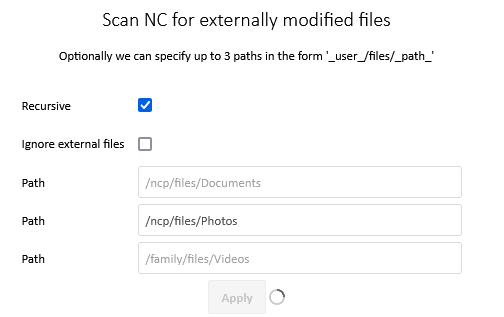
We need to click nc-scan to become files
and images visible on Next Cloud portal(always we copy files to samba we need
do this task):